
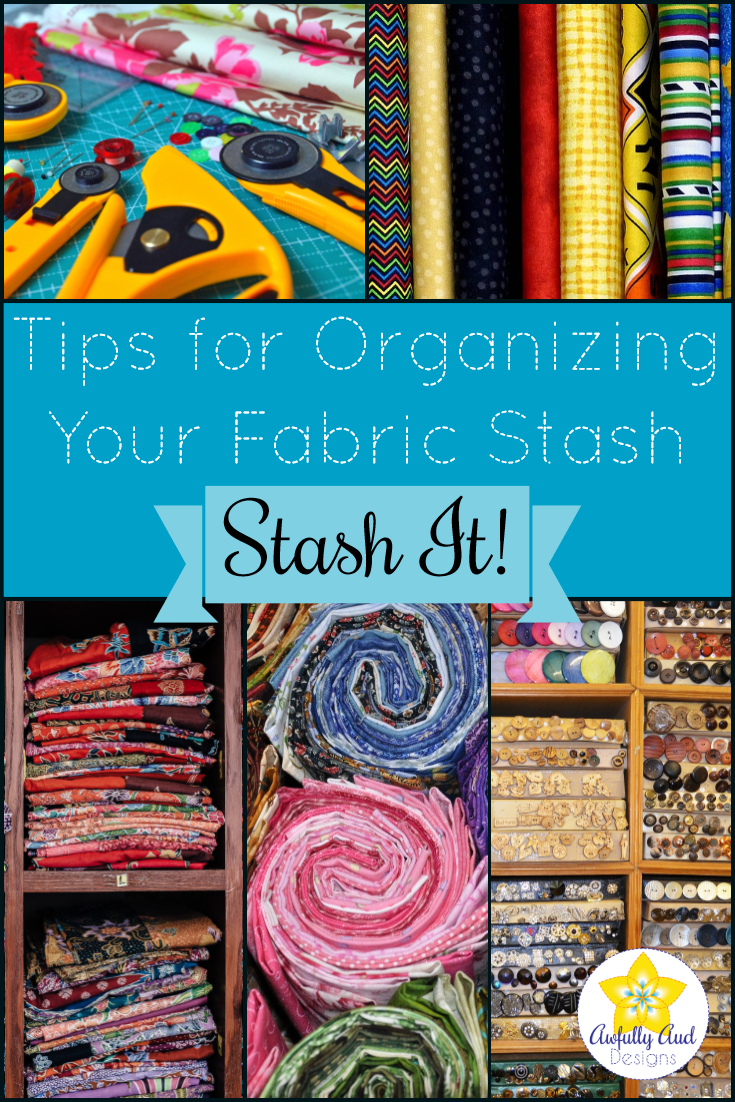
If you’ve been sewing for any amount of time (or heck, maybe you haven’t even started yet), you probably have a fabric stash. For those people that may not know what a fabric stash is, it’s just what it sounds like. It’s a collection of fabric that you have that has not been made into projects and is not actively being made into a project. For some people this might be just a couple yards of fabric total, while others could start their own fabric store with the stuff they have stashed away.
This stash happens without you realizing it, in a lot of cases. One minute you’re buying a few pieces of fabric that are really pretty just to have on hand, the next you’re trying to find another storage place in your house for your piles of fabric. A stash is really helpful to have! Don’t be ashamed about the amount of fabric you have at home, just try to actually use some of it now and again.
*This post may contain affiliate links and we may earn compensation when you click on the links and make a purchase at no additional cost to you.
When I first began sewing, my aunt let me “shop” her stash, and I took a lot of fun little pieces of fabric, because I mostly made small things at the time. I was in college, and to schlep my stash back and forth with me, I kept everything in ArtBins. It was not the most organized system, but it was easy to transport back and forth between Colorado and Illinois! As my stash grew, I collected more and more ArtBins, and it got harder and harder to find the piece of fabric I wanted. Finally, when my husband and I bought our house a couple of years ago, I decided I needed a better solution. Maybe you’re at that point, too?
No matter where you are in the process of collecting, finding a way of organizing all of it will help you keep your head on straight! It also helps you to actually use what you’ve already got if you can easily find what you want. There are a lot of options for this, so find what works best for you! Here are a few options, including ones that I personally use.
Tips for Storing Yardage
By “yardage” I’m referring to any cut of fabric that is 1 yard or longer, and probably hasn’t had the width cut down either. These are fabrics that you’ll want to fold up in some way, to keep them neat and mostly wrinkle-free, and so that they take up as little space as possible.
- Shelves – Got an old (or new) bookshelf just looking for a new life? Fill that puppy up with fabric! You can fold your fabrics up and stack them on the shelf, easy-peasy. This is great for smaller stashes and people who like to be able to see what they have available at a glance. If your stash is a little bit larger, you might want to invest in some fabric boards. These are like mini bolts for you to wrap your fabric around so that you can put your cuts of fabric on the shelf more like books, and easily pull out the cut you want without having to take everything else off the shelf, too. Imagine how pretty a wall of built-in shelving filled with these little bolts of fabric would be!
- Drawers – If you’d rather have everything put away all neat and tidy, drawers may be the way to go. You can get an inexpensive set of plastic drawers so you can still see what’s inside. Organize the drawers by color so you don’t have to go searching through multiple drawers for that one particular piece you want! Drawers are also nice because they will protect your fabric from harmful light and dust, keeping it safe longer.
- File Cabinets – This is the method that I personally use, I think it’s kind of a combination of the above two methods. In a filing cabinet, you’ll wrap your yardage around hanging file folders, and then file it away. It’s easy to see exactly what you have and sort it by whatever method suits you, plus it keeps the fabric neat and tidy. Your fabric will also be safe from sunlight and dust! You can get a pack of 25 hanging folders and then I cut them in half for my fabric, unless it’s a lot of yardage.
Tips for Storing Fat Quarters/Other Pre-Cuts
Pre-Cuts are any piece of fabric you buy cut into a pre-determined size or shape. This includes Fat Quarters (probably the most common), Fat Eighths, Charm Packs, Jellyrolls, and etc. Anything in that vein! We quilters are especially guilty of collecting these little guys, because they are just so darn pretty! So let’s keep them where we can find them (and look at them!), shall we?
- Shelves – Similarly to our yardage storage method above, shelves work great for our pre-cuts. Fat Quarters are easily folded and set up on the shelf like books, and then they’re super easy to find, and pretty to look at! Stack your jelly rolls and charm packs up for a really beautiful–and useful–fabric display.
- Baskets & Bins – I store my pre-cuts in various baskets and bins. I keep them organized by type of pre-cut (all of my fat quarters in one place, jellyrolls in another, and etc.) but you can organize them however you like. You can even buy specialty bins sized for exactly what you have. Here’s an ArtBin for Fat Quarters and another for Jellyroll Strips (although you have to unroll the jellyroll to use it, so if you’re going for pretty, this might not be for you).
- Wall-Mounted Magazine Rack – I have seen some really creative solutions with magazine racks. Buy a wall-mounting one and hang it up in your sewing room to organize your fat quarters. This is really pretty and if it’s close to your cutting space, very convenient! Something like this, and then you could organize them into different sections by color.
Tips for Storing Scraps
Am I the only one who keeps every little scrap from her projects? I can’t stand to throw away any fabric, and I keep just about any piece of fabric as long as it’s sew-able (so 1″ x 1″ or larger)! Naturally, I have… a lot of scraps. This is one part of my sewing room that’s still getting under control, but I have lots of ideas!
- Baskets & Bins – Right now, my scraps (anything smaller than a fat quarter, or that’s been cut into a funny shape) are organized by color into fabric boxes that fit into cubbies in my cutting table. It works pretty well, but I often find myself digging for a long time to find a scrap the size that I need. I also have to dig through them if I have a lot of a certain color. I’ve seen some sewists who use wire baskets for scrap storage, so that they can just pull the scrap they want out through the wire if it’s at the bottom or something. I think this is a creative solution, and it would be pretty to look at!
- Jars – This is similar to the baskets and bins, but creates a very pretty fabric display that you can keep out on a shelf. Again, the problem with this method is that if you want a scrap at the bottom of the jar, you’re going to have to dig for it, or dump it all out!
- Organize Them by Size – This is where I’m headed with my scraps. I already have “very small” scraps all together in plastic storage tubs, for applique and things like that. I’m hoping to someday find the time to sit down and cut up my scraps into usable pieces, and organize them by size. Quilters will often cut leftovers into common size pieces for quilts, like 5″ squares, 2 1/2″ strips, and etc. Then these pieces can be kept together, and when a pattern calls for pieces that size, they just pull that box/basket/drawer out and go to town! This does require a bit of upkeep, though, because you have to be diligent about cutting up your scraps as they’re generated. I think I might keep a small laundry hamper by my cutting table to toss scraps into, and when it fills up, I’ll spend an afternoon cutting the pieces up and sorting them by size.
These are just a few ideas to get you started organizing your stash. Every sewing room is a very personal space, and a different system will work for everyone! I hope these ideas get your gears turning and inspire you to try out a new organization method if yours isn’t working for you. For more ideas, check out my Pinterest board, where I’ll keep pinning new organization methods, tips, and tricks.
Until next time,
Audrey

4 thoughts on “Stashed! How to Organize and Store Your Fabric Stash”
Some great solutions. Reading this tells me that throwing the scraps all in a bin may not be the best way to go. I have “scraps” that can be considered yardage all the way to a couple inch squares. My bin is a great place for my grandkids to know what they can sew with though!! Thanks Audrey
Great content! Super high-quality! Keep it up! 🙂
Great looking web site. Presume you did a lot of your very own coding.
I am continually searching online for new ideas that can facilitate me. Thanks!